语法
line-height:normal | <length> | <percentage> | <number>
默认值:normal
适用于:所有元素
继承性:有
动画性:当值为 <length> | <number> 时
计算值:指定值
经常配合的属性有 display: inline-block vertical-align:middle
听我解释
line-height作用于所有元素,具有继承性;
一个容器的高度是有line-height决定的,不是由文字大小;
文字本身可以看成是一个内联(inline)元素;
如果,父容器设置了行高200px
- 子元素是内联的,设置行高,子元素的行高是不会覆盖的,这设置是没有任何效果的;
- 子元素是块内联的,设置行高,子元素的行高是会覆盖的,内部有自己的行高,整体在父容器中,通过
vertical-align:middle实现多行居中的效果(此时的元素可以看成是一个img标签);
- 子元素是块结构,设置行高,子元素的行高是会覆盖的,但是父容器的高度不是200px,而是块子元素的行高撑起,可以理解,父元素的行高失效无意义,除了继承line-height,不会对块元素产生位置上的影响;
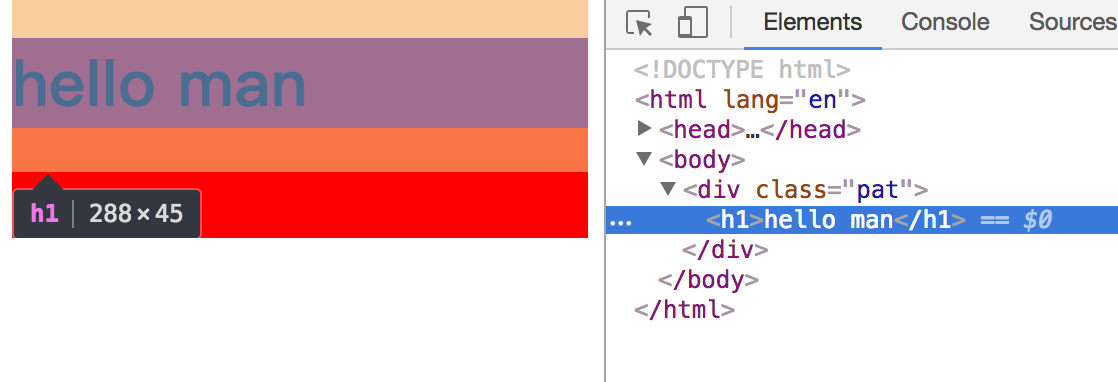
测试代码片段
<!DOCTYPE html>
<html lang="en">
<head>
    <meta charset="UTF-8">
    <title>line-height</title>
    <style>
        body {
            margin: 0;
            padding: 0;
        }
        .line {
            /*display: inline;*/
            font-size: 0;
            line-height: 200px;
            background-color: red;
            color: #fff;
            /*vertical-align: middle;*/
        }

        .line span {
            background-color: blue;
            /*line-height: 1.5;*/
            display: inline;/*当display:block的时候,不会继承line的line-height; inline会集成*/
            vertical-align: middle;
            font-size: 16px;
        }
    </style>
</head>
<body>
    <div class="line">
       <span>本次国考涉及苏州大市范围内的职位共需招录81人,用人司局包括长江航运公安局苏州分局、苏州市国家税务局基层分局、苏州出入境检验检疫局、国家统计局江苏调查总队、苏州银监分局等。从招录人数来看,共有五个岗位招录人数最多,皆为4人。</span>

    </div>
</body>
</html>
代码片段 => 实现单行,多行文字垂直居中
<!DOCTYPE html>
<html lang="zh-CN">
<head>
    <meta charset="UTF-8">
    <title>nav</title>
    <style>
      .bar-container {
          line-height: 70px;
          font-size: 0;

          /*调试属性*/
          background-color: red;
          color: #fff;
        }

        .bar-container > * {
          display: inline-block;
          line-height: 30px;
          vertical-align: middle;
          font-size: 14px;
          /*调试属性*/
          background-color: blue;
        }


        ul,li {
          padding: 0;
          margin: 0;
        }
        li {
          float: left;
          /*display: inline;*/
          /*line-height: 1;*/
          /*vertical-align: middle;*/

          margin-right: 10px;
          list-style: none;
        }

    </style>
</head>
<body>
  <div class="bar-container">
      <span>
         11111
      </span>
        <ul>
          <li>111111111111</li>
          <li>222222222222</li>
          <li>333333333333</li>
        </ul>
        <span>33333</span>
        <div>
          <div class="tel">18878767761</div>
          <div class="email">188787@qq.com</div>
      </div>
  </div>
  xxxxx

</body>
</html>
效果图


https://www.cnblogs.com/fanyoufu/p/6425149.html
http://www.zhangxinxu.com/wordpress/2009/11/css%E8%A1%8C%E9%AB%98line-height%E7%9A%84%E4%B8%80%E4%BA%9B%E6%B7%B1%E5%85%A5%E7%90%86%E8%A7%A3%E5%8F%8A%E5%BA%94%E7%94%A8/